[Flask] 웹 스크래핑 #7
Python으로 웹 스크래핑을 완벽히 해내셨다면 Python의 프레임워크인 Flask로 구현을 해보려고한다.
만약 Html과 css를 모르시는 분은 간단히라고 공부하고 오시길 바란다.

우선, Flask를 설치하기 전에 file.py를 생성해주자
#file.py

def save_to_file(file_name,jobs):
    file = open(f"{file_name}.csv", "w", encoding="utf-8")

    file.write("Position,Company,Location,URL\n")


    for job in jobs:
        file.write(
            f"{job['position']},{job['company']},{job['location']},{job['link']}\n"
            )

    file.close()


#hello.py

from extractiors.wwr import extract_wwr_jobs
from extractiors.indeed import extract_indeed_jobs
from file import save_to_file
keyword = input("What do you want to search for?")

wwr = extract_wwr_jobs(keyword)
indeed = extract_indeed_jobs(keyword)

jobs = indeed + wwr

save_to_file(keyword, jobs)
여전히 잘 작동할 것이다. 저장하는 코드를 함수 save_to_file에 옮겼다.
hello.py의 코드를 다 날리고 Flask를 설치할 것이다.
pip install flask
설치를 해주고 다 날린 hello.py에는
from flask import Flask

app = Flask("JobScrapper")

@app.route("/")
def home():
    return "hey there!"

app.run("127.0.0.1")
더보기란의 코드로

이러한 결과가 나오게 되고 Runnning되고 있는 링크를 Ctrl+클릭을 하면

이렇게 창이 뜰 것이다 단 세줄로 서버를 만들어 낸것이다. flask는 말도안된다...
@app.route("/hello")
def hello():
    return "hello"
위 코드를 추가하여 기존url뒤에 /hello로 들어가면?
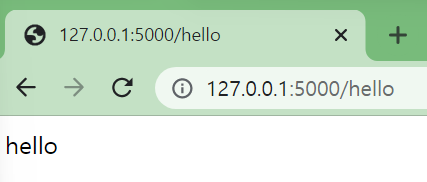
아주 잘뜨는 것을 볼 수 있다. 이제 html을 이용하여 hello 페이지로 이동하는 a태그를 만들어 보겠다.
from flask import Flask

app = Flask("JobScrapper")

@app.route("/")
def home():
    return "<h1>Hey there</h1><a href='/hello'>go to hello</a>"
@app.route("/hello")
def hello():
    return "hello"
app.run("127.0.0.1")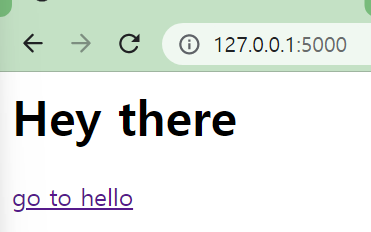

아주 잘 이동하는 것을 볼 수 있다. 이제 templates라는 폴더를 생성해준다.
그리고 home.html을 생성한다.
<!DOCTYPE html>
<html lang="en">
    <head>
        <meta charset="utf-8">
        <meta name="viewport" content="width=device-width, initial-scale=1.0">
        <title>Job Scrapper</title>
    </head>
    <body>
        <h1>Hello to you! My name is {{name}}</h1>
    </body>
</html>
간단하게 만들어 준 후 hello.py의 코드는
from flask import Flask, render_template
#렌더_템플릿 추가
app = Flask("JobScrapper")

@app.route("/")
def home():
    return render_template("home.html",name="Ryan")
    #괄호 안에 html파일이름은 무조건 같아야함
@app.route("/hello")
def hello():
    return "hello"
app.run("127.0.0.1")
이렇게 바꾸어 준다면
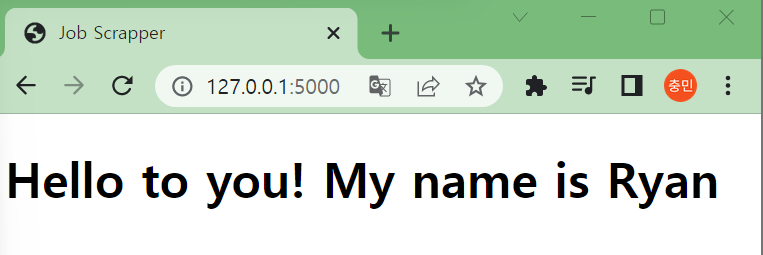
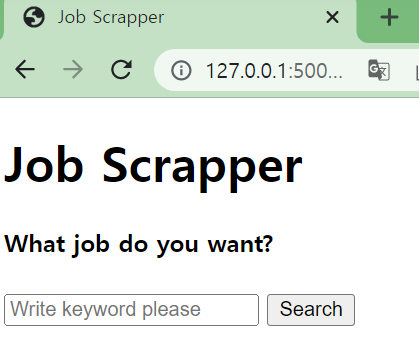
home.html이 정확히 나온다. 이제 검색기능을 구현해보자 우선 html태그들을 생성해준다
<!DOCTYPE html>
<html lang="en">
    <head>
        <meta charset="utf-8">
        <meta name="viewport" content="width=device-width, initial-scale=1.0">
        <title>Job Scrapper</title>
    </head>
    <body>
        <h1>Job Scrapper</h1>
        <h4>What job do you want?</h4>
        <form>
            <input type="text" name="keyword" placeholder="Write keyword please"/>
            <button>Search</button>
        </form>
    </body>
</html>
그 후 실행하여 python을 검색한다면
http://127.0.0.1:5000/?keyword=python <= 이렇게 url 마지막에 python이 적히는 모습을 확인가능하다.
이전에 했던 스크래핑이랑 같은 형식이다 그렇다면 이제 form태그에 action을 추가하여 /search로 이동시키게 할 것이고
그에 대한 키워드를 가져와보겠다.
그러기 위해서 search.html을 생성하고 {{keyword}}를 받으면 된다.
#serach.html

<!DOCTYPE html>
<html lang="en">
    <head>
        <meta charset="utf-8">
        <meta name="viewport" content="width=device-width, initial-scale=1.0">
        <title>Job Scrapper</title>
    </head>
    <body>
        <h1>Search Results for {{keyword}}</h1>
    </body>
</html>

#hello.py
from flask import Flask, render_template, request

app = Flask("JobScrapper")

@app.route("/")
def home():
    return render_template("home.html",name="Ryan")
@app.route("/search")
def hello():
    keyword = request.args.get("keyword")
    return render_template("search.html",keyword = keyword)
app.run("127.0.0.1")
이렇게 코드를 바꿔준 후 python을 검색하면?
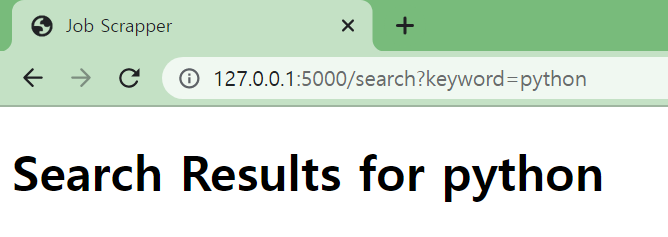
성공이당 ㅎㅎ
다음 글에서는 wwr.py와 indeed.py를 연결하여 데이터를 출력해보겠다!